
Running vLLM on a Macbook Air M1
I have been looking for a way to run an LLM at home in a way that I can use for not only AI Chat but also to integrate with the Homeassistant voice to keep everything in house. One of the biggest challenges with this is having enough hardware.
I have tried the most common approach using Ollama, but I just did not have enough GPU in my minimal home lab to accommodate this platform. So I abandoned this approach until I could get the hardware together or find a better solution.
This is where vLLm comes in. While it may not have the same features in running concurrent models in an instance or multimodal models, it is quite efficient in how it can run a model. This allow you to run a surprisingly large model on CPU on light hardware like my Macbook M1 making it convenient to do local development.
In this post we will deploy both vLLM and Open-webui allowing for local chat. For a model we will run TinyLlama-1.1B-Chat which has 1.1B params. This example was deployed on my Macbook Air M1 (M1 ARM CPU, 8GB RAM) and was surprisingly useable compared to other platforms I have tested.
When looking to play with example and extend, the options for models will affect your performance depending on hardware and if you’re using CPU only this will also affect Models you can use.
Step 1: Prepare the environment
First thing that needs to be done is to ensure that we have all of our pieces in place. I use pyenv to manage my Python environments on the Mac which can be done using Homebrew.
# Install pyenv
brew install pyenv

# Setup in zsh
echo 'eval "$(pyenv init --path)"' >> ~/.zprofile
echo 'if command -v pyenv 1>/dev/null 2>&1; then eval "$(pyenv init -)" fi' >> ~/.zprofile
Once you have Pyenv ready we need to get our Python version and virtual environment ready. For this project I used version 3.12.4 which can be installed using the following.
# List available versions
pyenv install -l

# Install version
pyenv install 3.12.4

# Make version available
pyenv global 3.12.4
Next we need a virtual environment to contain our project and install our dependencies.
# Create virtual environment
virtualenv vllm-venv
source vllm-venv/bin/activate

# Upgrade pip
pip install --upgrade pip

# Install dependencies
pip install torch torchvision
Once the pip install completes you will have a fresh Python 3.12.4 environment with dependencies installed. Next we need to “build” vllm from the GitHub repo, and I use this term loosely as what we are actually going to do is use pip install’s Development Mode (editable install) to deploy the project in a manner compatible with ARM and Macos.
Development mode install’s any project dependencies etc, but leaves the project in the source directory and extends PYTHONPATH to run the package in the source directory. A great detailed explanation of this can be found on the Setuptool project site here.
# Clone vllm repo
git clone https://github.com/vllm-project/vllm.git

# Traverse into repo directory
cd vllm

# Install vllm using Development Mode
# If doing this on other OS you can install normally
pip install -e .
You now have everything you need to run vLLM, but we will also need a way to run containers so that we can deploy Open-webui. While there are a number of container runtimes we will setup podman in this example.
# Install Podman
brew install podman

# Create a Podman runtime VM
podman machine init

# Start your podman environment
podman machine start
Now we have a local container runtime that we can leverage, I prefer Podman over other environments as the podman machine VM is a convenient way to be able to clean up a mess of cached images and overlay filesystems.
Step 2: Deploy an LLM service
Now that all of the software is there we can now download a model and start to serve this to send requests to. This is done using the vllm cli tool that was deployed during install. It is also possible to deploy this using code, but that is a whole other conversation.
By default vllm utilizes the Huggingface model registry, for this example we will be using the TinyLlama/TinyLlama-1.1B-Chat-v1.0.
The server can be started and told what model to run in a single command if the model is not local it will go and fetch this from the registry, by running the following command.
# Start your vllm service
vllm serve TinyLlama/TinyLlama-1.1B-Chat-v1.0 --host 0.0.0.0 --port 8000
In the command above there are a couple of parameters first we supply the --host parameter and set the value to 0.0.0.0 to allow any host name in a request and then specify the --port parameter to have the service listen on port 8000\tcp.
Now you have a running vLLM server ready to send prompts.
Step 3: Set up open-webui
Now you could interact with you vLLM service using REST, like this example.
curl http://localhost:8000/v1/chat/completions \
  -H "Content-Type: application/json" \
  -d '{
    "model": "TinyLlama/TinyLlama-1.1B-Chat-v1.0",
    "messages": [
      {"role": "user", "content": "What is the capital of France?"}
    ],
    "temperature": 0.7,
    "max_tokens": 50
  }'
But the response has a bunch of metadata, it is not going to impress your pet Goldfish. Instead let’s deploy Open-webui so we can have a ChatGPT style interaction with our LLM via our local browser.
Open-webui’s install pattern is to deploy in a container which will be done using podman to serve the open-webui container image.
# Create a directory for stateful data
mkdir open-webui

# Start the Podman environment
podman machine start

# Start the container
podman run -d -p 3000:8080 -v open-webui:/app/backend/data -e OPENAI_API_BASE_URL=http://0.0.0.0:8000/v1 --name open-webui ghcr.io/open-webui/open-webui:main
When we run the container ghcr.io/open-webui/open-webui:main, it is started with the -d parameter to detach the running container from the command line so it can run in the background. While the container runs on port 8080 we use the -p parameter to serve the container externally on port 3000.
Next we mount the directory open-webui that was created in the snippet above using the -v parameter to mount the directory to /app/backend/data within the container.
To set up open-webui to connect to our vLLM service we pass in the environment variable OPENAI_API_BASE_URLwith the value http://0.0.0.0:8000/v1 using the -e parameter to add to the running environment. The vllm serve command presents the LLm to using the OPENAI API specification so we can present this service to open-webui, which should self-discover the running model.
You can verify that open-webui is running using podman ps and then in your browser navigate to http://localhost:3000 where you will be prompted to set up an Admin account. If all is working as intended you will be presented with a screen like the one below.
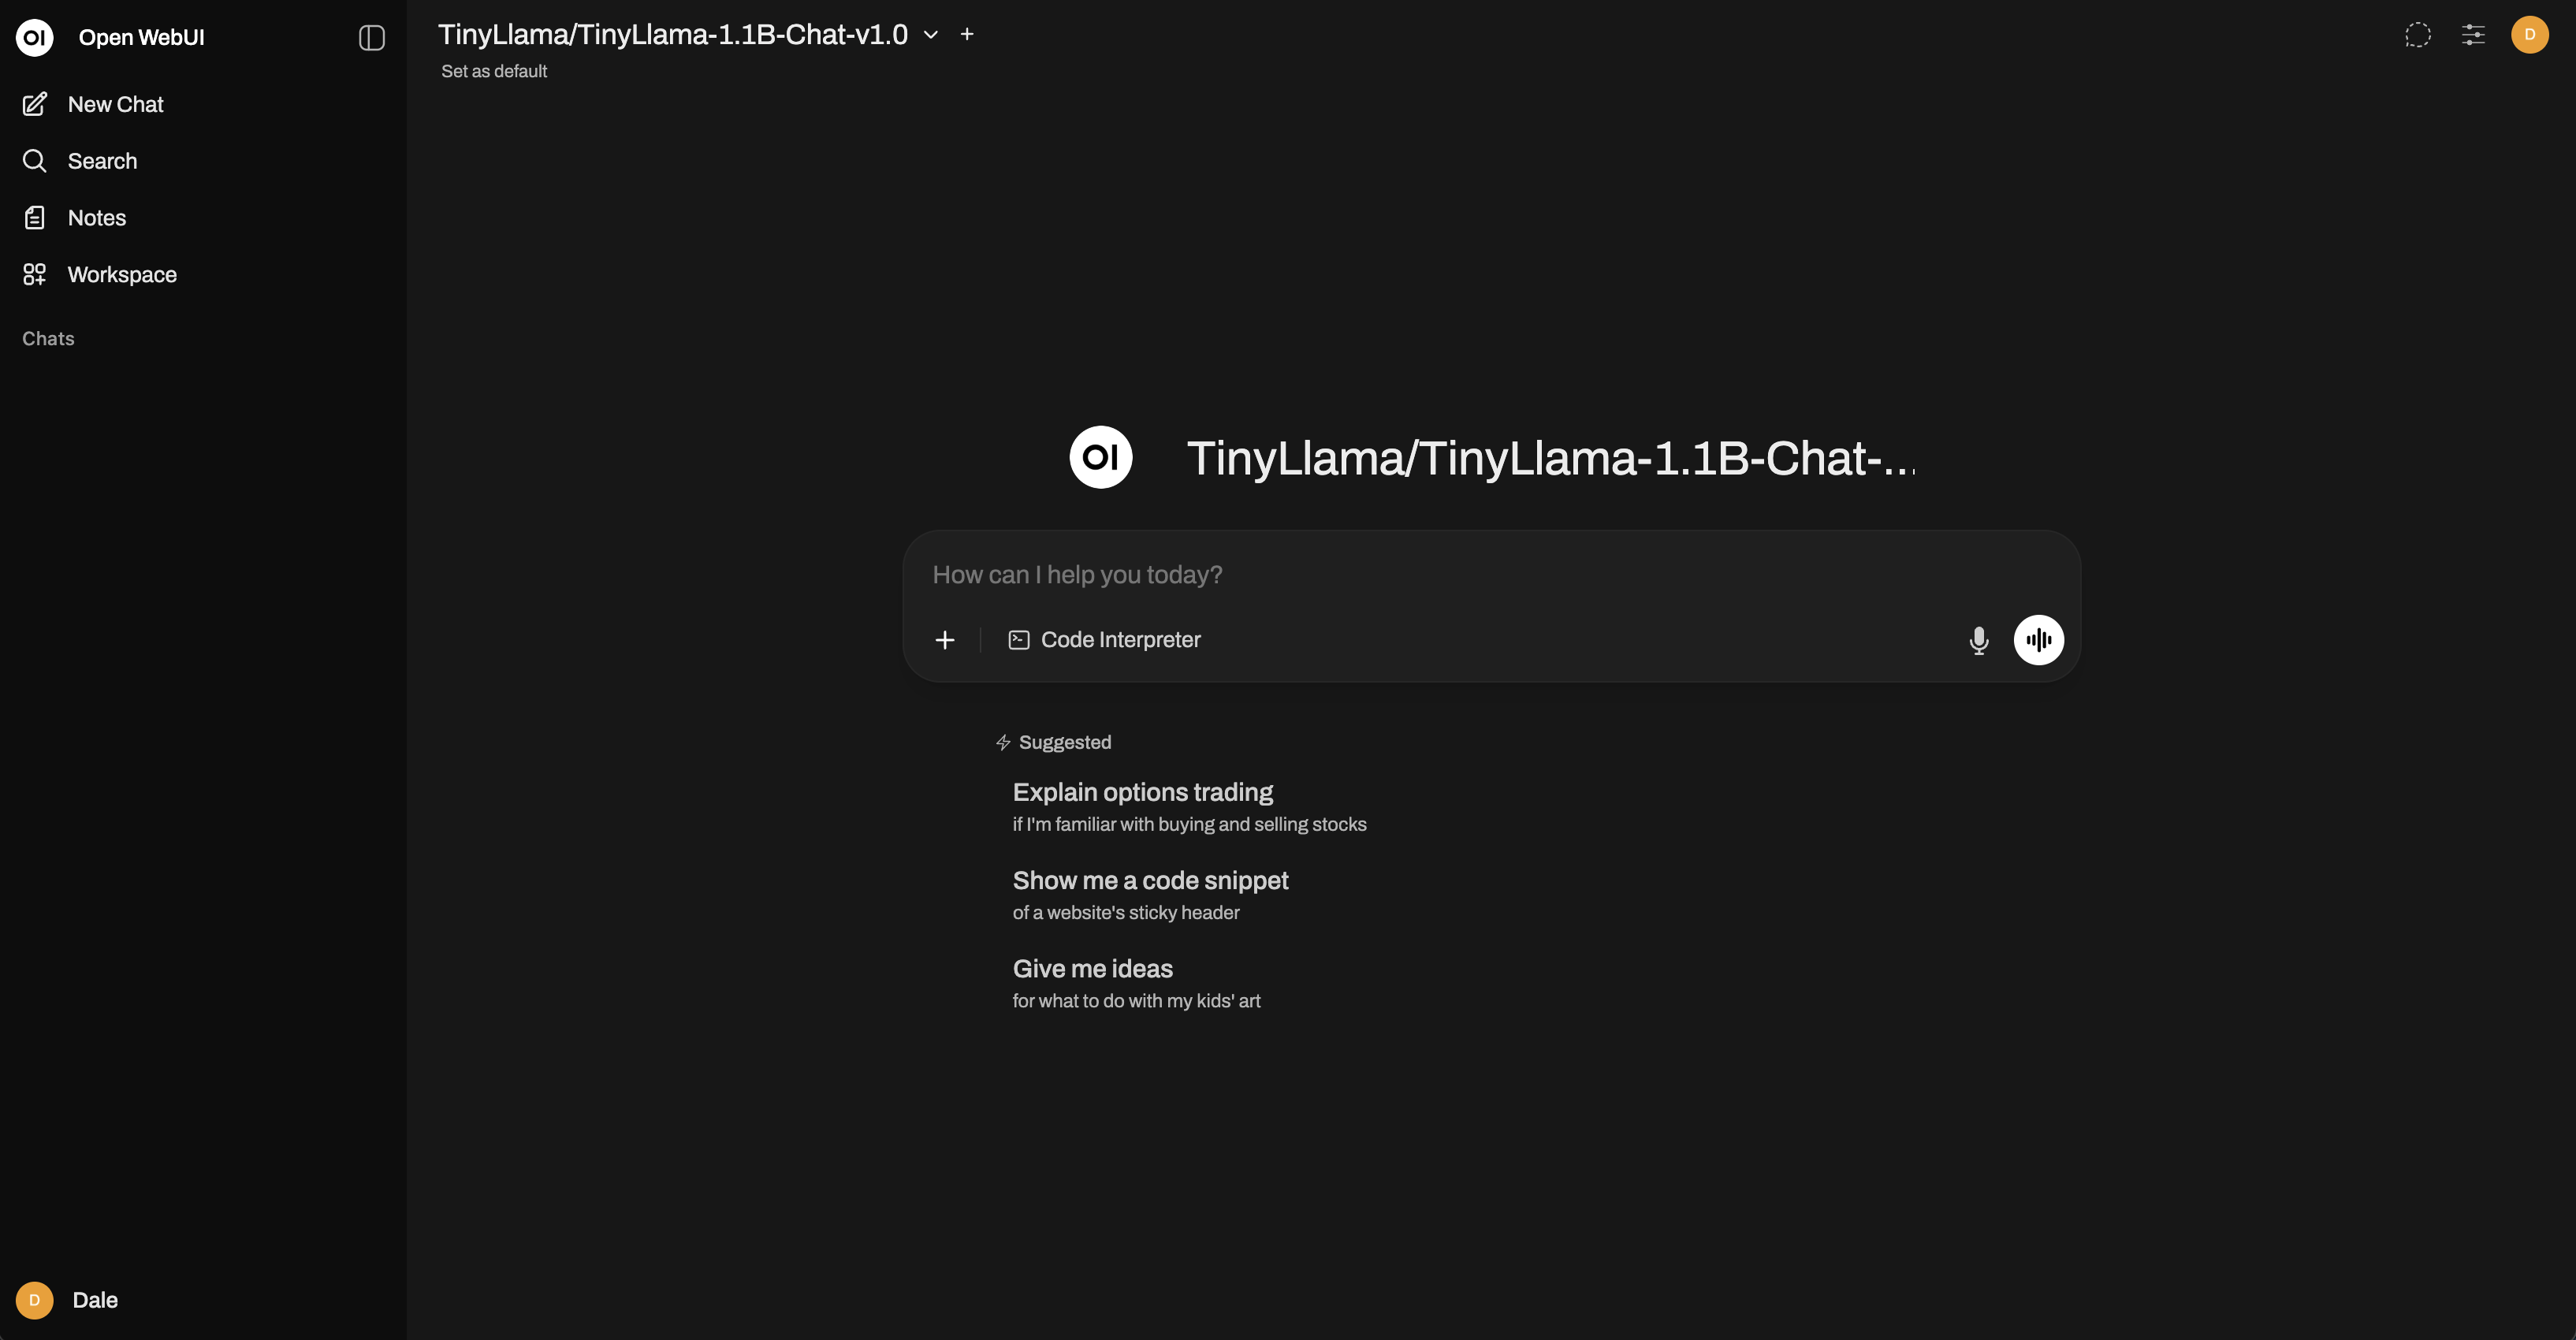
Now you have a local chat focused Generative AI platform that you can experiment with locally.